
First steps
Once you have followed the steps in Installation for the Operator and its dependencies, you will now go through the steps to set up and connect to a Superset instance.
Database for the Superset metadata
Superset metadata (slices, connections, tables, dashboards etc.) is stored in an SQL database.
For testing, you can set up a PostgreSQL database with these commands:
helm install superset oci://registry-1.docker.io/bitnamicharts/postgresql \
    --version 16.5.0 \
    --set image.repository=bitnamilegacy/postgresql \
    --set volumePermissions.image.repository=bitnamilegacy/os-shell \
    --set metrics.image.repository=bitnamilegacy/postgres-exporter \
    --set global.security.allowInsecureImages=true \
    --set auth.username=superset \
    --set auth.password=superset \
    --set auth.database=superset \
--wait| This setup is not suitable for use in production. Refer to the supported databases for production-ready database setup instructions. |
Secret with Superset credentials
You need to create two Secrets with the required credentials (an admin account for Superset as well as database connection credentials).
Create a file called superset-credentials.yaml:
---
apiVersion: v1
kind: Secret
metadata:
  name: superset-admin-credentials
type: Opaque
stringData:
  adminUser.username: admin
  adminUser.firstname: Superset
  adminUser.lastname: Admin
  adminUser.email: admin@superset.com
  adminUser.password: admin
Apply the Secret:
kubectl apply -f superset-credentials.yamlThe adminUser fields are used to create an admin user.
If using non-default authentication (e.g., LDAP), the admin user is disabled.
The database connection credentials are stored in a separate secret.
Create it in the superset.yaml file (shown below) or apply it separately.
Creation of a Superset node
A Superset node must be created as a custom resource, create a file called superset.yaml:
---
apiVersion: v1
kind: Secret
metadata:
  name: superset-postgresql-credentials
stringData:
  username: superset
  password: superset
---
apiVersion: superset.stackable.tech/v1alpha1
kind: SupersetCluster
metadata:
  name: simple-superset
spec:
  image:
    productVersion: 6.1.0
  clusterConfig:
    credentialsSecret: superset-admin-credentials
    metadataDatabase:
      postgresql:
        host: superset-postgresql
        database: superset
        credentialsSecretName: superset-postgresql-credentials
  nodes:
    roleConfig:
      listenerClass: external-unstable
    roleGroups:
      default:
        config:
          rowLimit: 10000
          webserverTimeout: 300
And apply it:
kubectl apply -f superset.yamlmetadata.name contains the name of the Superset cluster.
The previously created credentials Secret must be referenced in spec.clusterConfig.credentialsSecretName, and the database connection Secret is configured via spec.clusterConfig.metadataDatabase.
The rowLimit configuration option defines the row limit when requesting chart data.
The webserverTimeout configuration option defines the maximum number of seconds a Superset request can take before timing out.
These settings affect the maximum duration a query to an underlying datasource can take.
If you get timeout errors before your query returns the result you may need to increase this timeout.
You need to wait for the Superset node to finish deploying. You can do so with this command:
kubectl rollout status --watch statefulset/simple-superset-node-default --timeout 300sConnecting to the web interface
Once the Superset node is created and the database is initialized, you can open Superset in your browser.
Use the stackablectl command line tool to find out the Superset URL.
stackablectl stacklet list

┌──────────┬─────────────────┬───────────┬──────────────────────────────────────┬─────────────────────────────────┐
│ PRODUCT  ┆ NAME            ┆ NAMESPACE ┆ ENDPOINTS                            ┆ CONDITIONS                      │
╞══════════╪═════════════════╪═══════════╪══════════════════════════════════════╪═════════════════════════════════╡
│ superset ┆ simple-superset ┆ default   ┆ node-http  http://192.168.49.2:30462 ┆ Available, Reconciling, Running │
└──────────┴─────────────────┴───────────┴──────────────────────────────────────┴─────────────────────────────────┘
Then, open the HTTP endpoint (in this example http://192.168.49.2:30462 in your browser and log in with the user credentials for Superset.
Again, use stackablectl to find out those credentials:
stackablectl stacklet credentials superset simple-superset
Credentials for superset (simple-superset) in namespace "default":

 USERNAME  admin
 PASSWORD  admin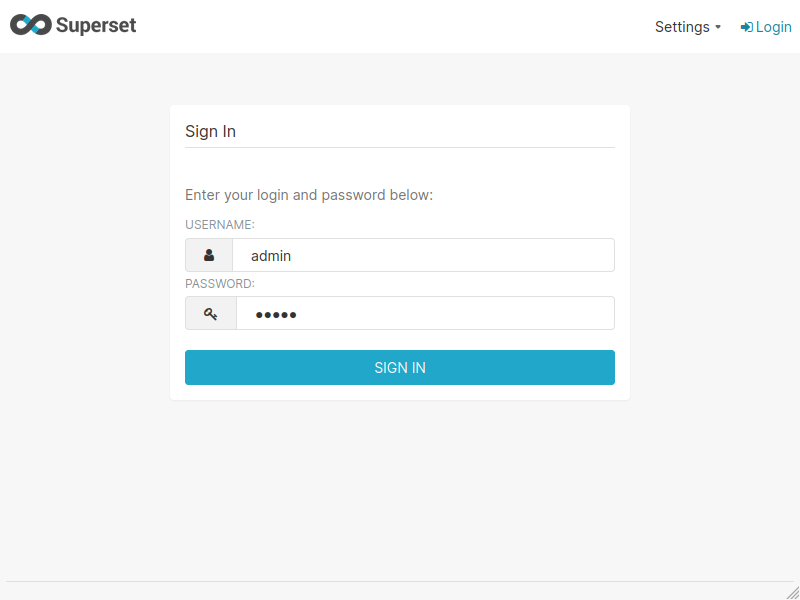
Superset is now ready for use. If you want to load sample data and dashboards and explore Superset’s functionality, proceed to the next step.
Loading examples and accessing example dashboards
To have some data to play with and some dashboards to explore, Superset comes with some example data that you can load.
To do so, create a file superset-load-examples-job.yaml with this content:
---
apiVersion: batch/v1
kind: Job
metadata:
  name: superset-load-examples
spec:
  template:
    spec:
      volumes:
      - configMap:
          defaultMode: 420
          name: simple-superset-node-default
        name: config
      containers:
      - name: superset
        image: oci.stackable.tech/sdp/superset:6.1.0-stackable0.0.0-dev
        command: [
          "/bin/bash",
          "-c",
          "export SQLALCHEMY_DATABASE_URI=\"postgresql://${METADATA_DATABASE_USERNAME}:${METADATA_DATABASE_PASSWORD}@superset-postgresql.default.svc.cluster.local/superset\" && \
          mkdir --parents /stackable/app/pythonpath && \
          cp /stackable/config/* /stackable/app/pythonpath && \
          echo 'SQLALCHEMY_EXAMPLES_URI = os.environ.get(\"SQLALCHEMY_DATABASE_URI\")' >> /stackable/app/pythonpath/superset_config.py && \
          superset load_examples"
        ]
        env:
        - name: SECRET_KEY
          valueFrom:
            secretKeyRef:
              key: SECRET_KEY
              name: simple-superset-secret-key
        - name: METADATA_DATABASE_USERNAME
          valueFrom:
            secretKeyRef:
              key: username
              name: superset-postgresql-credentials
        - name: METADATA_DATABASE_PASSWORD
          valueFrom:
            secretKeyRef:
              key: password
              name: superset-postgresql-credentials
        volumeMounts:
        - mountPath: /stackable/config
          name: config
        resources:
          limits:
            cpu: 1200m
            memory: 1000Mi
          requests:
            cpu: 300m
            memory: 1000Mi
      restartPolicy: Never
  backoffLimit: 4
This Kubernetes Job uses the same connection information and credentials as the Superset instance to load the example data. Run the Job and wait for it to finish with the following command:
kubectl apply -f superset-load-examples-job.yaml
sleep 5
kubectl wait --for=condition=complete --timeout=1500s job/superset-load-examples
The Job will take a few minutes to terminate. Afterwards, check back again on the web interface. New dashboards should be available:
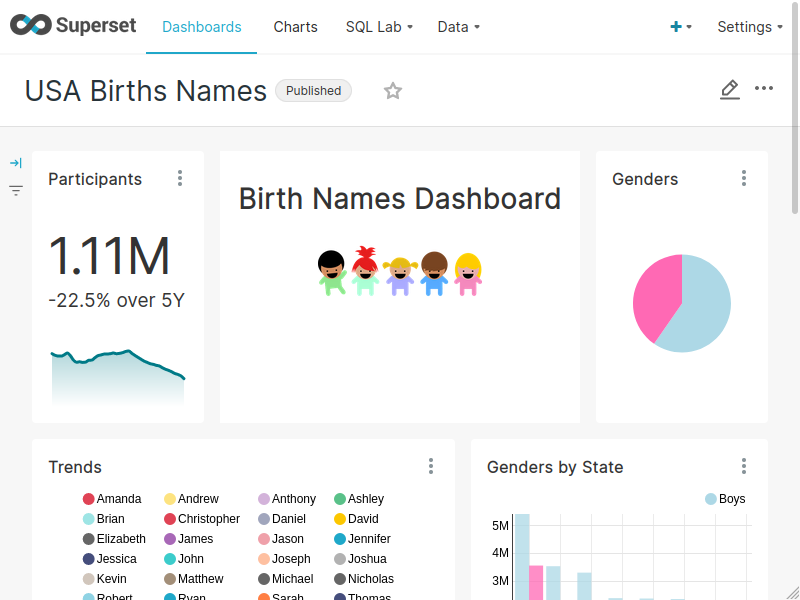
Great! Now you can explore this sample data, run queries on it or create your own dashboards.
What’s next
Check the Usage guide to find out more about configuring your Superset instance or have a look at the Superset documentation to create your first dashboard.